
This post contains some affiliate links. As an Amazon Associate, if you purchase through my links, I earn from qualifying purchases. I might receive a small commission, at no additional cost to you. Thanks for your support!
My friend and I did a 3-Day Skyline Trail adventure to Evelyn Creek Campground and to Little Shovel Pass. We were looking for a short backpacking trip at the beginning of July as a practice run for the rest of the season. We didn’t want to go too far; we wanted breathtaking mountain views and not to have to backpack all three days. I had backpacked all of the Skyline Trail in the past and knew it was absolutely stunning, with different campsites along the way for us to pick from to do a mix of backpacking and hiking.
Our trip worked out beautifully! We did two nights at Evelyn Creek Campground, with the first and last day being backpacking days. The second day, we took our lightweight packs and hiked up to Little Shovel Pass, with the opportunity to see more of the trail, keep working on getting fit and enjoy time outdoors.
Trip at a Glance
- Duration: 3 days
- Distance: 4.8 km from Maligne Lake Trailhead to Evelyn Creek campground and another 5.5 km to Little Shovel Pass.
- Elevation gain: 1824 m at Evelyn Creek Campground and 2240 m at Little Shovel Pass
- Starting/ending trailheads: We started and ended at Maligne Lake Trailhead.
- Campsite: Evelyn Creek
- Day trip: Little Shovel Pass
- Difficulty: It was moderately difficult to reach Little Shovel Pass.
- Best time of year: July and August are the best times of the year to go. There will still be lots of snow on the mountain in June.
Day 1: Backpacking to Evelyn Creek
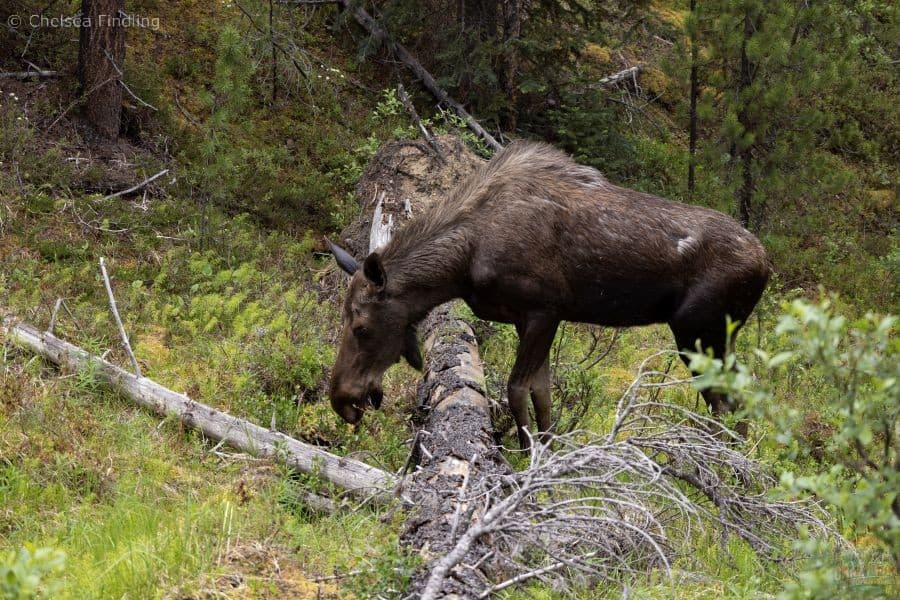
Photo credit: Kelsey Stephenson
We saw a moose near the beginning of the Skyline Trail! It was so exciting to see! This was taken on the trail with my phone’s zoom setting. We gave her lots of space to eat the leaves as we watched and captured the moment. The moose was aware that we were there, as she kept lifting her head up to look at us every once in a while.
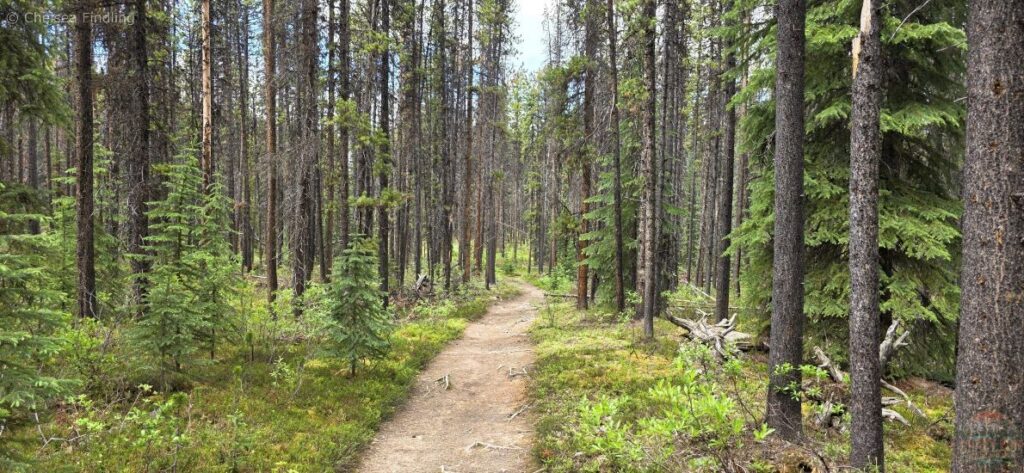
My friend and I were in high spirits after seeing the moose. The trail started wide and narrowed the further along we went. It was a moderate 4.8 km to Evelyn Campground with a few roots to look out for every once in a while.
The trees were mostly thick along the trail, with a few openings to see Lorraine and Mona lake close to the trail. Having started backpacking at 3 pm in the afternoon, since we drove to the Maligne Lake trailhead from Edmonton in the morning, we opted not to go to the viewpoints, wanting to make sure we had time to set up camp, eat supper and get organized by nightfall.
Camping at Evelyn Creek
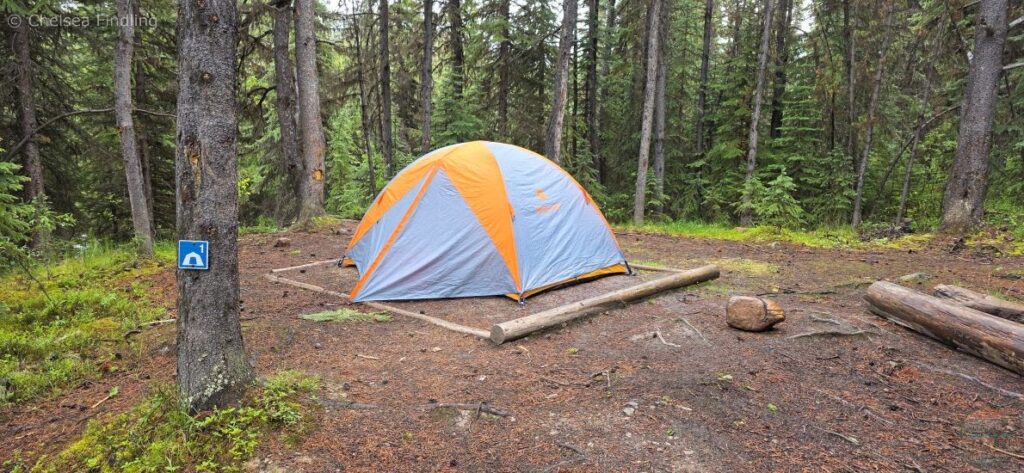
When we arrived, two of the four camping tent pads were already taken. We decided against the campsite in a mud pit with little water drainage, and instead my friend and I chose campsite number one, as it had a dedicated wood tent pad and sat higher up in case it rained (it ended up being useful, as the rain showed up the following day).
We had neighbours nearby who were friendly to talk to while still giving us space to get organized. All the tent pads are up above the trail, with the tables below to eat meals beside the food lockers. It’s a nice, quiet campground with Evelyn Creek flowing nearby to grab water.
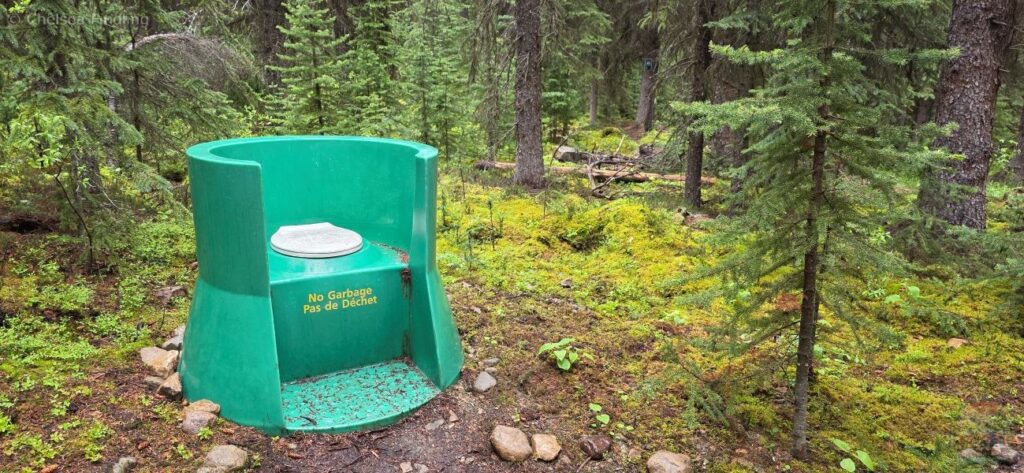
Evelyn Creek campground on the Skyline Trail has one pit toilet located behind the campsites. You’ll get to enjoy a view while using it. If it rains, however, you might get a bit wet, so plan accordingly.
Tip: Walk slowly and peek through the trees as you approach the pit toilet in case someone is using it.
Day 2: Hiking to Little Shovel Pass
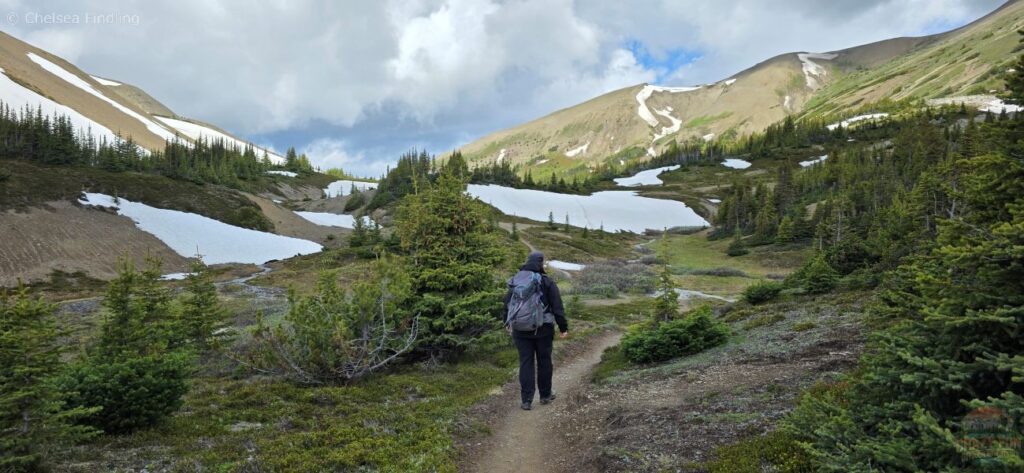
The next day, we left the tent, our sleeping bags and cooking gear behind and hiked up to Little Shovel Pass. We wanted to hike more of the Skyline Trail and go explore with a lighter pack. It was an 11 km hike from Evelyn Creek campground to Little Shovel Pass and back. Most of the snow was on the side of the trail, except for one part where we had to hike through it. We were lucky to enjoy the nice views of the nearby mountains before it started raining on us at around two in the afternoon.
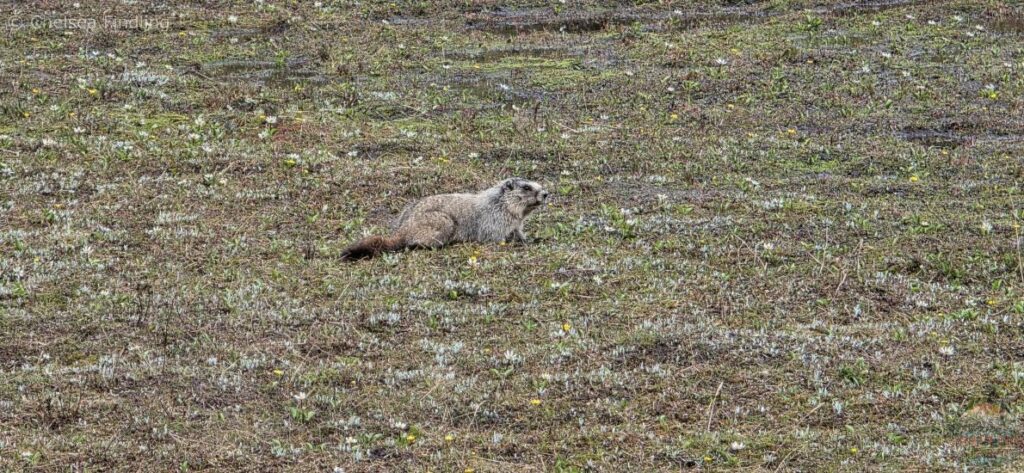
Marmots kept running in the meadows in front of us and eating it. We enjoyed watching them as we hiked. It made for a nice break.
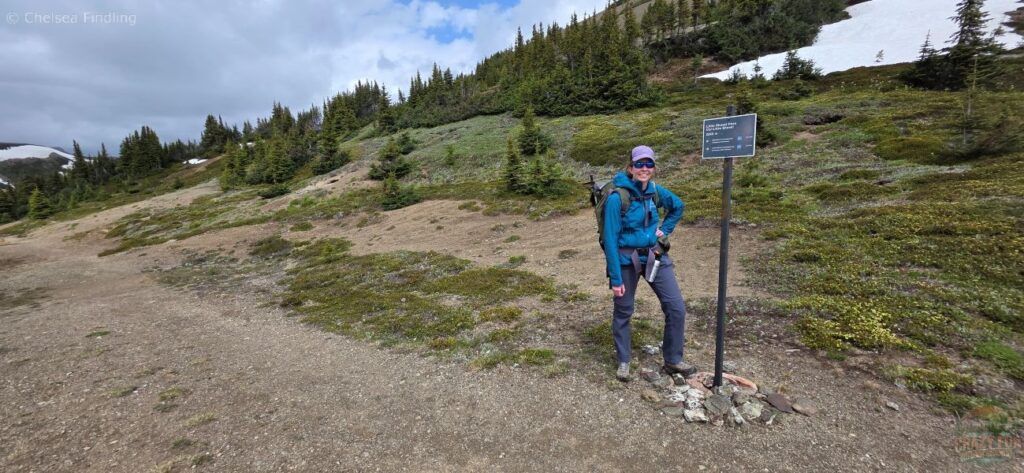
Photo credit: Kelsey Stephenson
My Midweight Crew Socks kept my feet happy and provided cushioning for my heel and toes, moving me forward until we reached Little Shovel Pass at 2240 metres. We were happy to achieve our goal for the day. It was superb to have views of both sides of the pass.
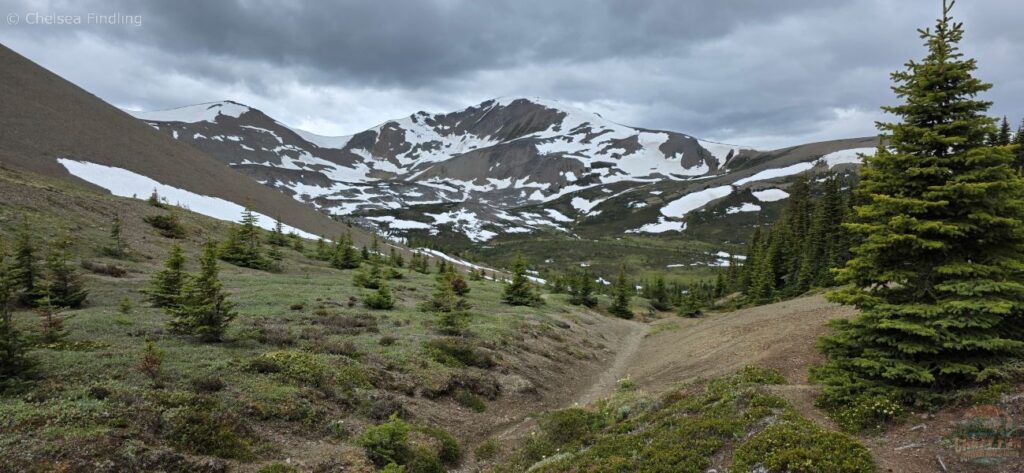
We thought of continuing, but the clouds were starting to move in by then, so we decided to turn around. It wasn’t very tempting either to hike down to Snowbowl Campground and then have to hike back up to return to Evelyn Creek Campground.
We appreciated being able to see the view in a different direction with snow accumulation in the distance.
The Highlights of the Skyline Trail
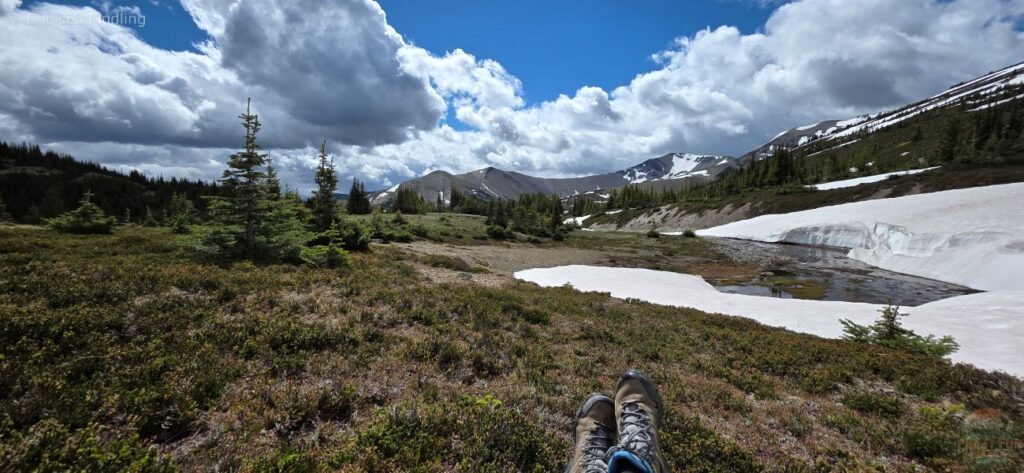
We sat at this gorgeous spot for lunch, admiring the mountains and the blue sky behind us before heading up towards the pass. It looked like there was potential for wind and rain as the dark clouds started to roll in that direction. We enjoyed soaking up the sun while we could.
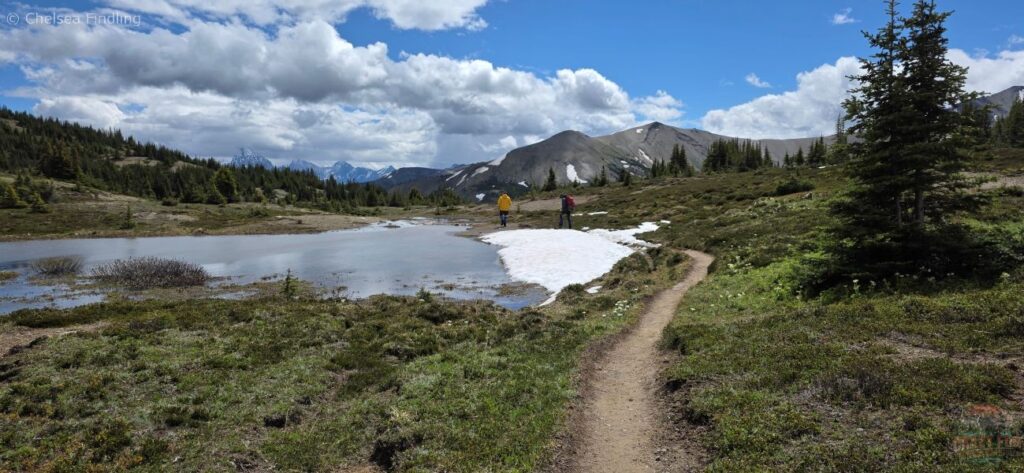
This picture was taken shortly after our lunch stop, looking back at the beautiful mountain scenery with wildflowers in the meadows. We loved the constantly changing landscape.
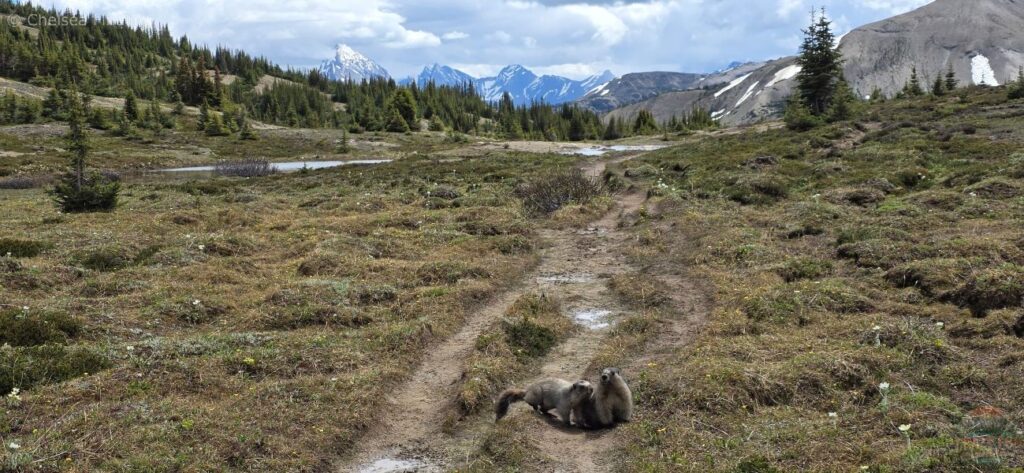
Marmots kept crossing the path and stopping to see what we were up to, hoping they could also be in my picture.
Day 3: Hiking Back Out
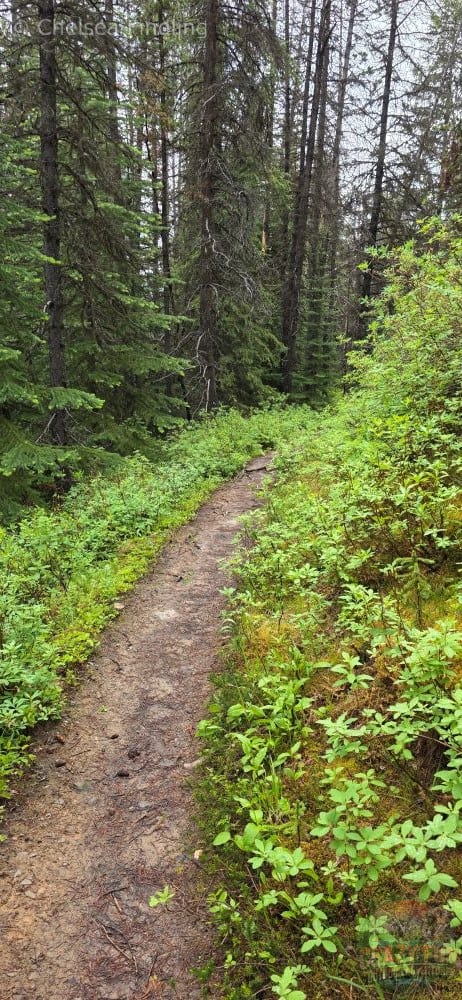
I was tossing and turning and woke up at 5 a.m., on our last day, to Evelyn Creek being so loud, with the large volume of water coming down the mountain. It had rained overnight, but it had paused, so we figured it was the perfect time to pack up our stuff while it had stopped raining. Most of our items were dry apart from the tent.
Tip: Shake the fly to remove as many water droplets from it as possible so you can pack it up as dry as you can. Then when you get back home, leave it outside to dry so it doesn’t end up mouldy.
We were all packed up by 7 am and back to the parking lot by 9 am; the fastest I had ever left a campsite! We felt accomplished having had 3 wonderful days together in the backcountry. My friend and I celebrated with a hug! The hike back on the Skyline Trail was wet and muddy as it had rained the previous day and night. We stayed mostly dry and clean by avoiding the mud puddles. We were ready to stay positive backpacking in the rain, but thankfully, we didn’t encounter more rain on our trip and packing up when we woke up was the best plan.
What We Packed
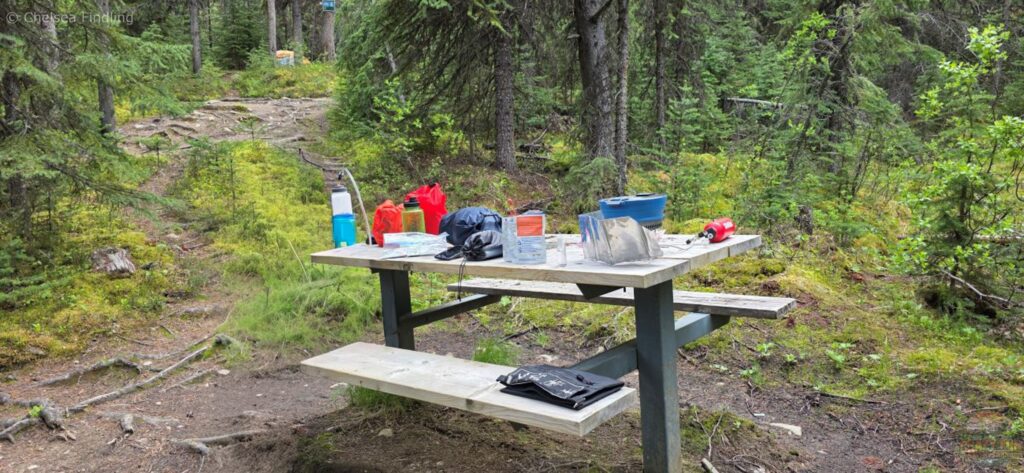
We enjoyed eating our suppers down here at the picnic tables away from the tent pads above.
We added water to our supper pouches this time to save time packing. I’m not a big fan of the variety of pouches available due to their salt content and not being as tasty as home-cooked meals that are dehydrated; it did the trick for the time we spent backpacking part of the Skyline Trail.
Here are some items we brought:
Backpack Tent
- Marmot Limelite 3P (Old Style) tent with poles, ground sheet & pegs – although heavy, we like having the extra space to get organized in the tent while backpacking, and it’s also a dry place to hang out if it rains a lot.
Sleeping system
- Exped Ultra 1R Lightweight Sleeping Cushion, Lichen, Medium | Ultralight Sleeping Mat for Summer Camping Comfortable – keeps the cold air off our backs and is thick to sleep on.
- Kelty Cosmic 20 Down Mummy Sleeping Bag for Backpacking – provides warmth around our body and head when it gets cold at night.
Cooking setup
- GSI Escape 2L Collapsible Pot – makes it easy to boil a lot of water at once or cook a large meal, then collapse it to save space in your backpack.
- MSR Whisperlite Stove – boils water quickly
Food
- Mountain House Rice and Chicken, Freeze-Dried Emergency Food
- Mountain House Pad Thai with Chicken, Freeze-Dried Emergency Food
Water filtration
- Platypus GravityWorks Group Camping Water Filter System, 6-Liter – We were able to filter a lot of water quickly with the gravity filter.
- 3L CamelBak Crux Water Reservoir Hydration Bladder – makes it easy to stay hydrated and drink on the trail.
Clothing
- Columbia Women’s Bogata Bay Short Sleeve Tee
- Women’s Merino Base Layer Crew
- Columbia Women’s Benton Springs Full Zip
- Columbia Women’s Silver Ridge Utility Convertible Pant Hiking Pants
Emergency/safety gear
For a full list of everything we packed and to help keep your pack weight down, check out Detailed Backpacking Gear List with Weight Comparisons.
Trail Conditions & Things to Know
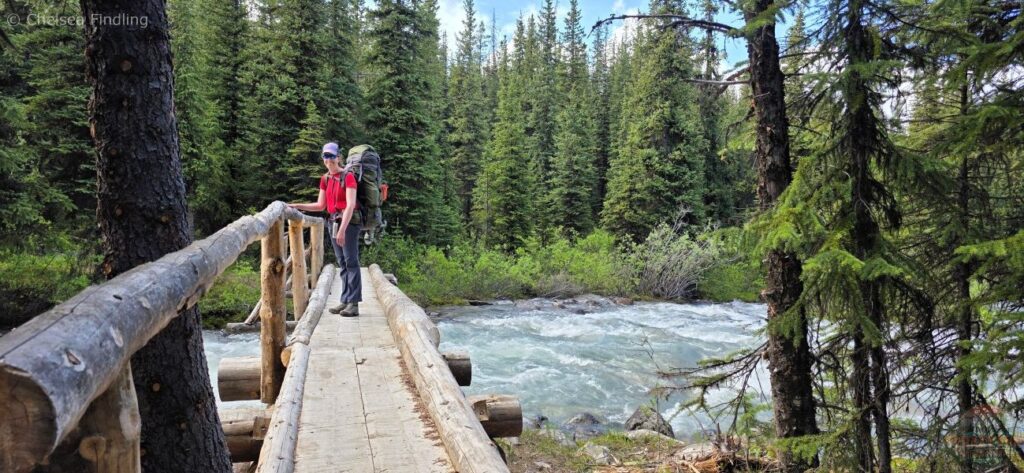
Photo credit: Kelsey Stephenson
The trail conditions constantly changed. My friend and I ran into a dry trail, which quickly changed to mud and puddles. We went through a short section of snow near Little Shovel Pass Trail, but the snow was mostly on the side of the trail by the time we went in early July 2026. We had a bridge crossing Evelyn Creek, as seen above. Otherwise, the creeks were minor, and we could walk on top of the rocks placed to cross the creek. We used Evelyn Creek as our water source. There was a perfect place to grab the fast-moving water off to the side near the campsite.
Tip: Always filter fast-moving, clear water. Still water could potentially contain bacteria and parasites that could make you sick.
There is no cell service where we went unless you have an inReach Mini 2, Lightweight and Compact Satellite Communicator, Hiking Handheld, Black, to reach your loved ones. My friend appreciated being able to communicate with her husband.
The weather changes often in the mountains; it’s best to be prepared with different layers for the cold, wind or sun. Have a rain jacket in case it starts pouring.
You need to make a campsite reservation online to book a site for the days you want to camp.
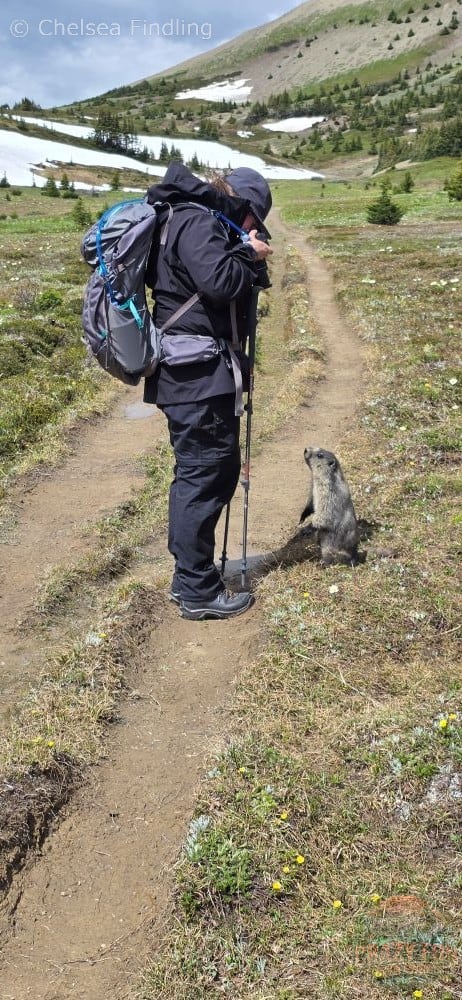
You might be lucky enough to see a moose on the trail, but it’s more likely you’ll spot marmots near Little Shovel Pass. They were quite happy to do a photoshoot for us and allow us to take multiple videos and pictures. They came up a bit too close to my friend Kelsey, as seen above, which indicated that they were probably expecting to be fed (we did not feed them), and we told them to go back to eating grass. It made for a cute picture, however. We tried to keep our distance from them and give them their space.
Was Two Nights at Evelyn Creek Worth It?
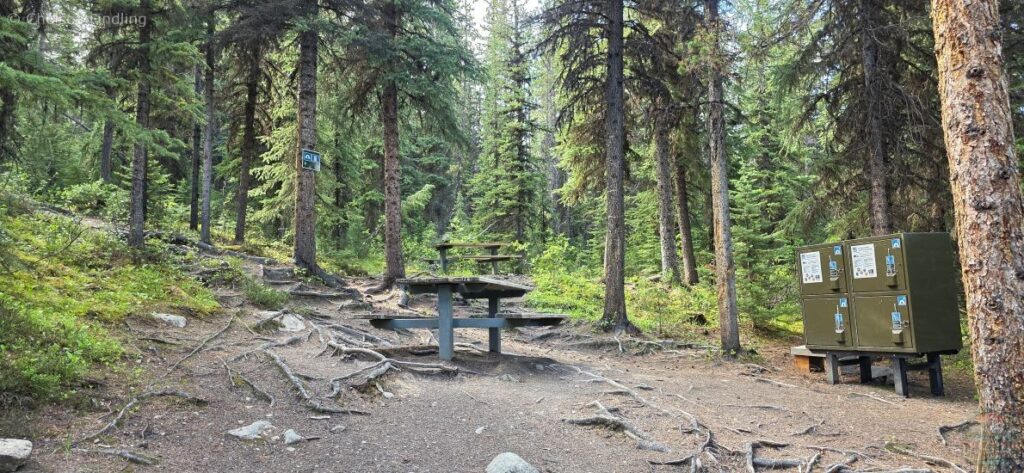
Yes, two nights at Evelyn Creek was worth it. It allowed us time to take our time on the first day to get to the campsite. Not having to pack up on the second day was wonderful, leaving our tent and sleeping bag behind and only taking the essentials with us on our day hike to Little Shovel Pass. It made our packs lighter before hiking out on the third day.
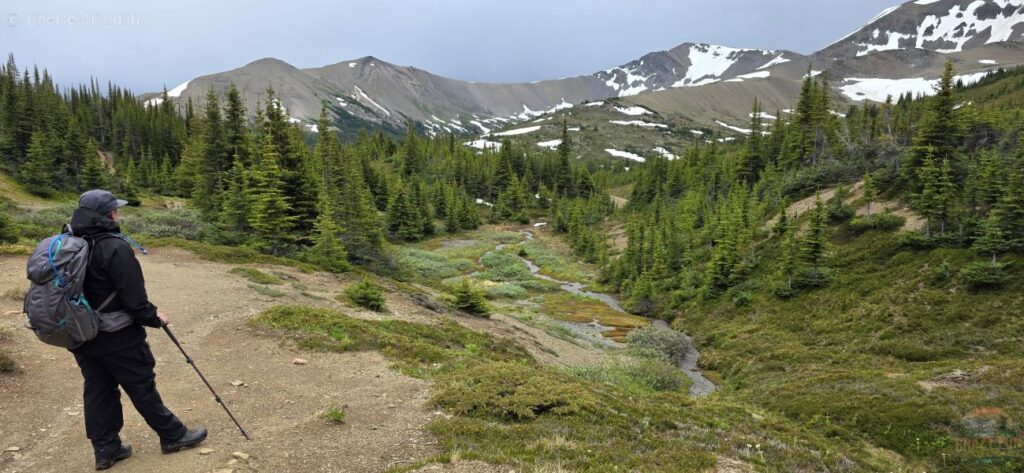
Staying at one campsite for the entire stay only works if you’re doing part of the trail. Otherwise, you need to move each night to get to the Signal Trailhead. Hopefully, next time we’ll be able to hike the trail in its entirety. We appreciated being able to get ready for the season with our three days in the mountains.
Tips for Planning the Trip
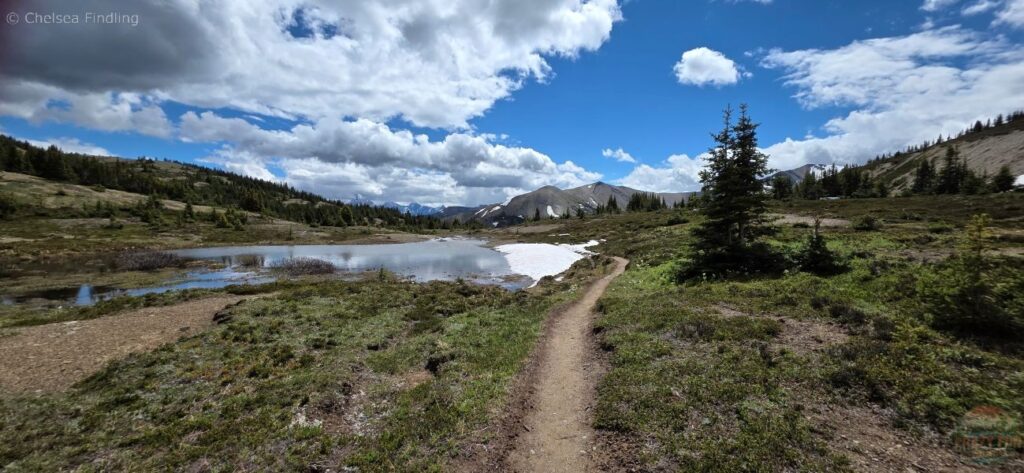
If you’re trying to get some practice backpacking or want a short first trip of the season, 3 days was the perfect amount. For a short 4.8 km trip to Evelyn Creek, starting later, like 3 pm, still gives you lots of time in the summer to get to your campsite, set up camp, and eat supper in daylight. The earlier the better, but if you need to drive from out of town to the trailhead, you’ll need time to get there, making it a later start.
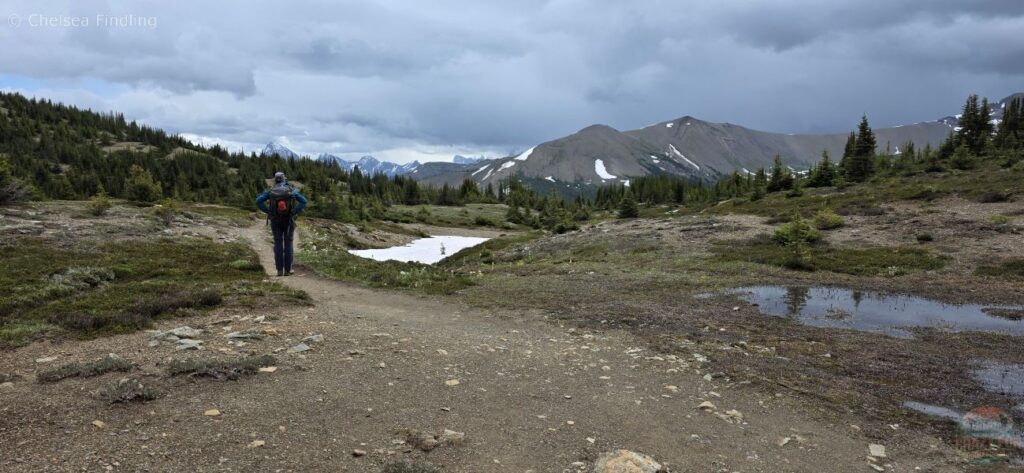
We liked that we had time to eat lunch, observe the marmots on our second day without feeling rushed. When the dark clouds started to roll in, we were in a good position to head back down to avoid the storm at the top of the mountain. Going on a short trip gave us a lot of flexibility to play it by ear, depending on how we were feeling and what was happening with the weather, and to only hike as far as we wanted.
Final Thoughts
I thoroughly enjoyed backpacking part of the Skyline Trail with my friend. We had a fantastic time backpacking to Evelyn Creek campground on day one. It was wonderful to have the flexibility to hike with a lighter pack to Little Shovel Pass on day two. We made the most of the breathtaking views in every direction at the top of the pass, enjoyed seeing the marmots run in all directions, and soaked up the sun when it came out. We accomplished everything we wanted to do while enjoying each other’s company in nature. It was the perfect trip, and I hope it encourages you to get outside and plan a trip of a lifetime for yourself too! There’s nothing like spending time in the Alberta mountains in the summer.
Leave a Reply